Crockpot Whole Chicken

Crock-Pot Whole Chicken

Crockpot Whole Chicken
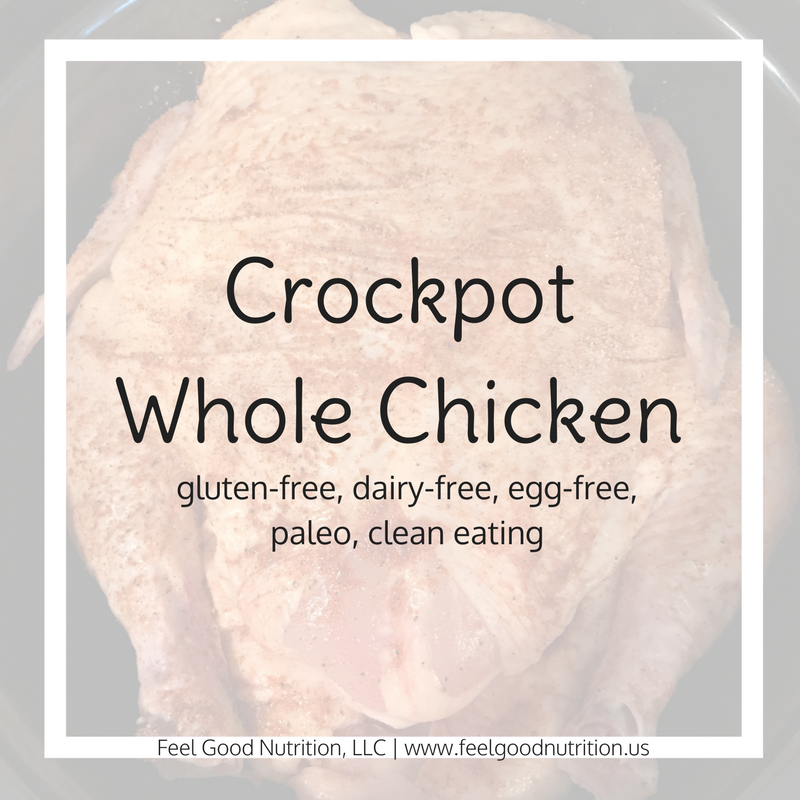
We are closing out national slow-cooking month with a crock-pot whole chicken recipe!
 
I have always been a sucker for rotisserie chicken. To the point that I have priced out my own rotisserie for the day when I have a huge, glamorous kitchen worthy of my kitchen appliances. When I saw a recipe for crock-pot whole chicken I just HAD to try it!
 
Most of the recipe I’ve seen have a rub with tons of ingredients. In my blog I focus on only creating recipes that have ingredients tested in my food sensitivity blood test. This makes it easier for my clients as they are searching for recipes to make with their results! Having limited foods is hard enough – you pretty much have to be a Chopped Master Chef to create a cohesive meal.
 
One of my favorites things to do is create recipes from random ingredients and find a way that they can work together. During consultations, I often get carried away coming up with cohesive meal ideas. The hardest part is the start of the elimination diet. We try to stick to 25-30 foods for the first two weeks.
 

Yes – only 25-30 foods – and that includes their spices!

Anyway, sorry for that tangent, back to what I was saying. I made this crockpot recipe with my go-to spice blend. I have a pretty major sensitivity to garlic and I do my best to avoid it when possible. This blend has great flavor and I don’t even miss the garlic!

Crock-pot Whole Chicken
 
Prep time
Cook time
Total time
 
Author:
Serves: 1 chicken
Ingredients
  • Whole Chicken
  • Aluminum foil
Paprika-Onion spice blend
  • 1T paprika
  • 2 tsp salt
  • 1 tsp black pepper
  • ½ tsp onion powder
Instructions
  1. Rinse chicken thoroughly and remove any insides. Pat dry with paper towel.
  2. Mix all spices in a bowl until combined.
  3. Rub the seasoning blend onto the chicken – top and bottom!
  4. Roll up a few balls of aluminum foil and place in the bottom of your crock-pot – this will raise the chicken up so that it is not sitting in its juices.
  5. Place the chicken on top of the foil balls.
  6. Cover and cook on high for 4 hours.
  7. Chicken should be cooked until it reaches an internal temperature of 160F or the juice runs clear.
  8. Be careful when removing the chicken from the crock-pot. I used tongs to pull it out. If the chicken is cooked too long it will fall apart because it’s so tender! This tastes great but makes it hard to take the chicken out in one piece.
Notes
I have found the best results cooking on high for 4 hours. Last time I cooked on low for 8-9 hours it all fell apart. Again, it tasted great! But it was a pain to sift through the chicken meat and bones.

If you want to cook vegetables at the same time you can quarter or half large onions and potatoes to give the chicken something to sit on.

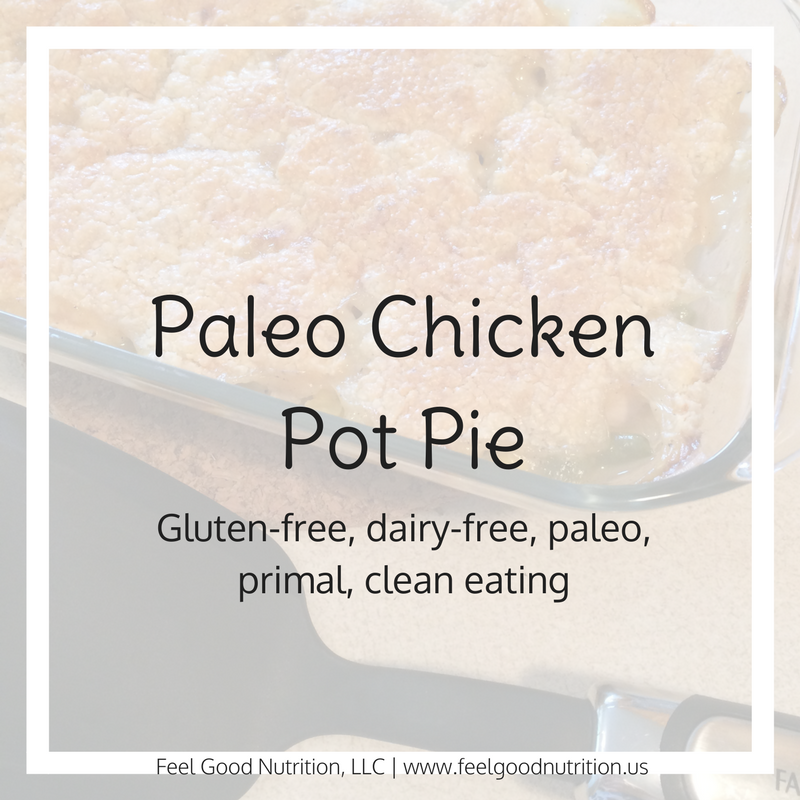
One of the reasons I love making a whole chicken is so that I have leftovers for days! Try my chicken pot pie with your leftovers!


Alternatives:
Protein
– try with turkey breast
Flavor Enhancer – use your favorite food sensitivity friendly spice blend!


Products:

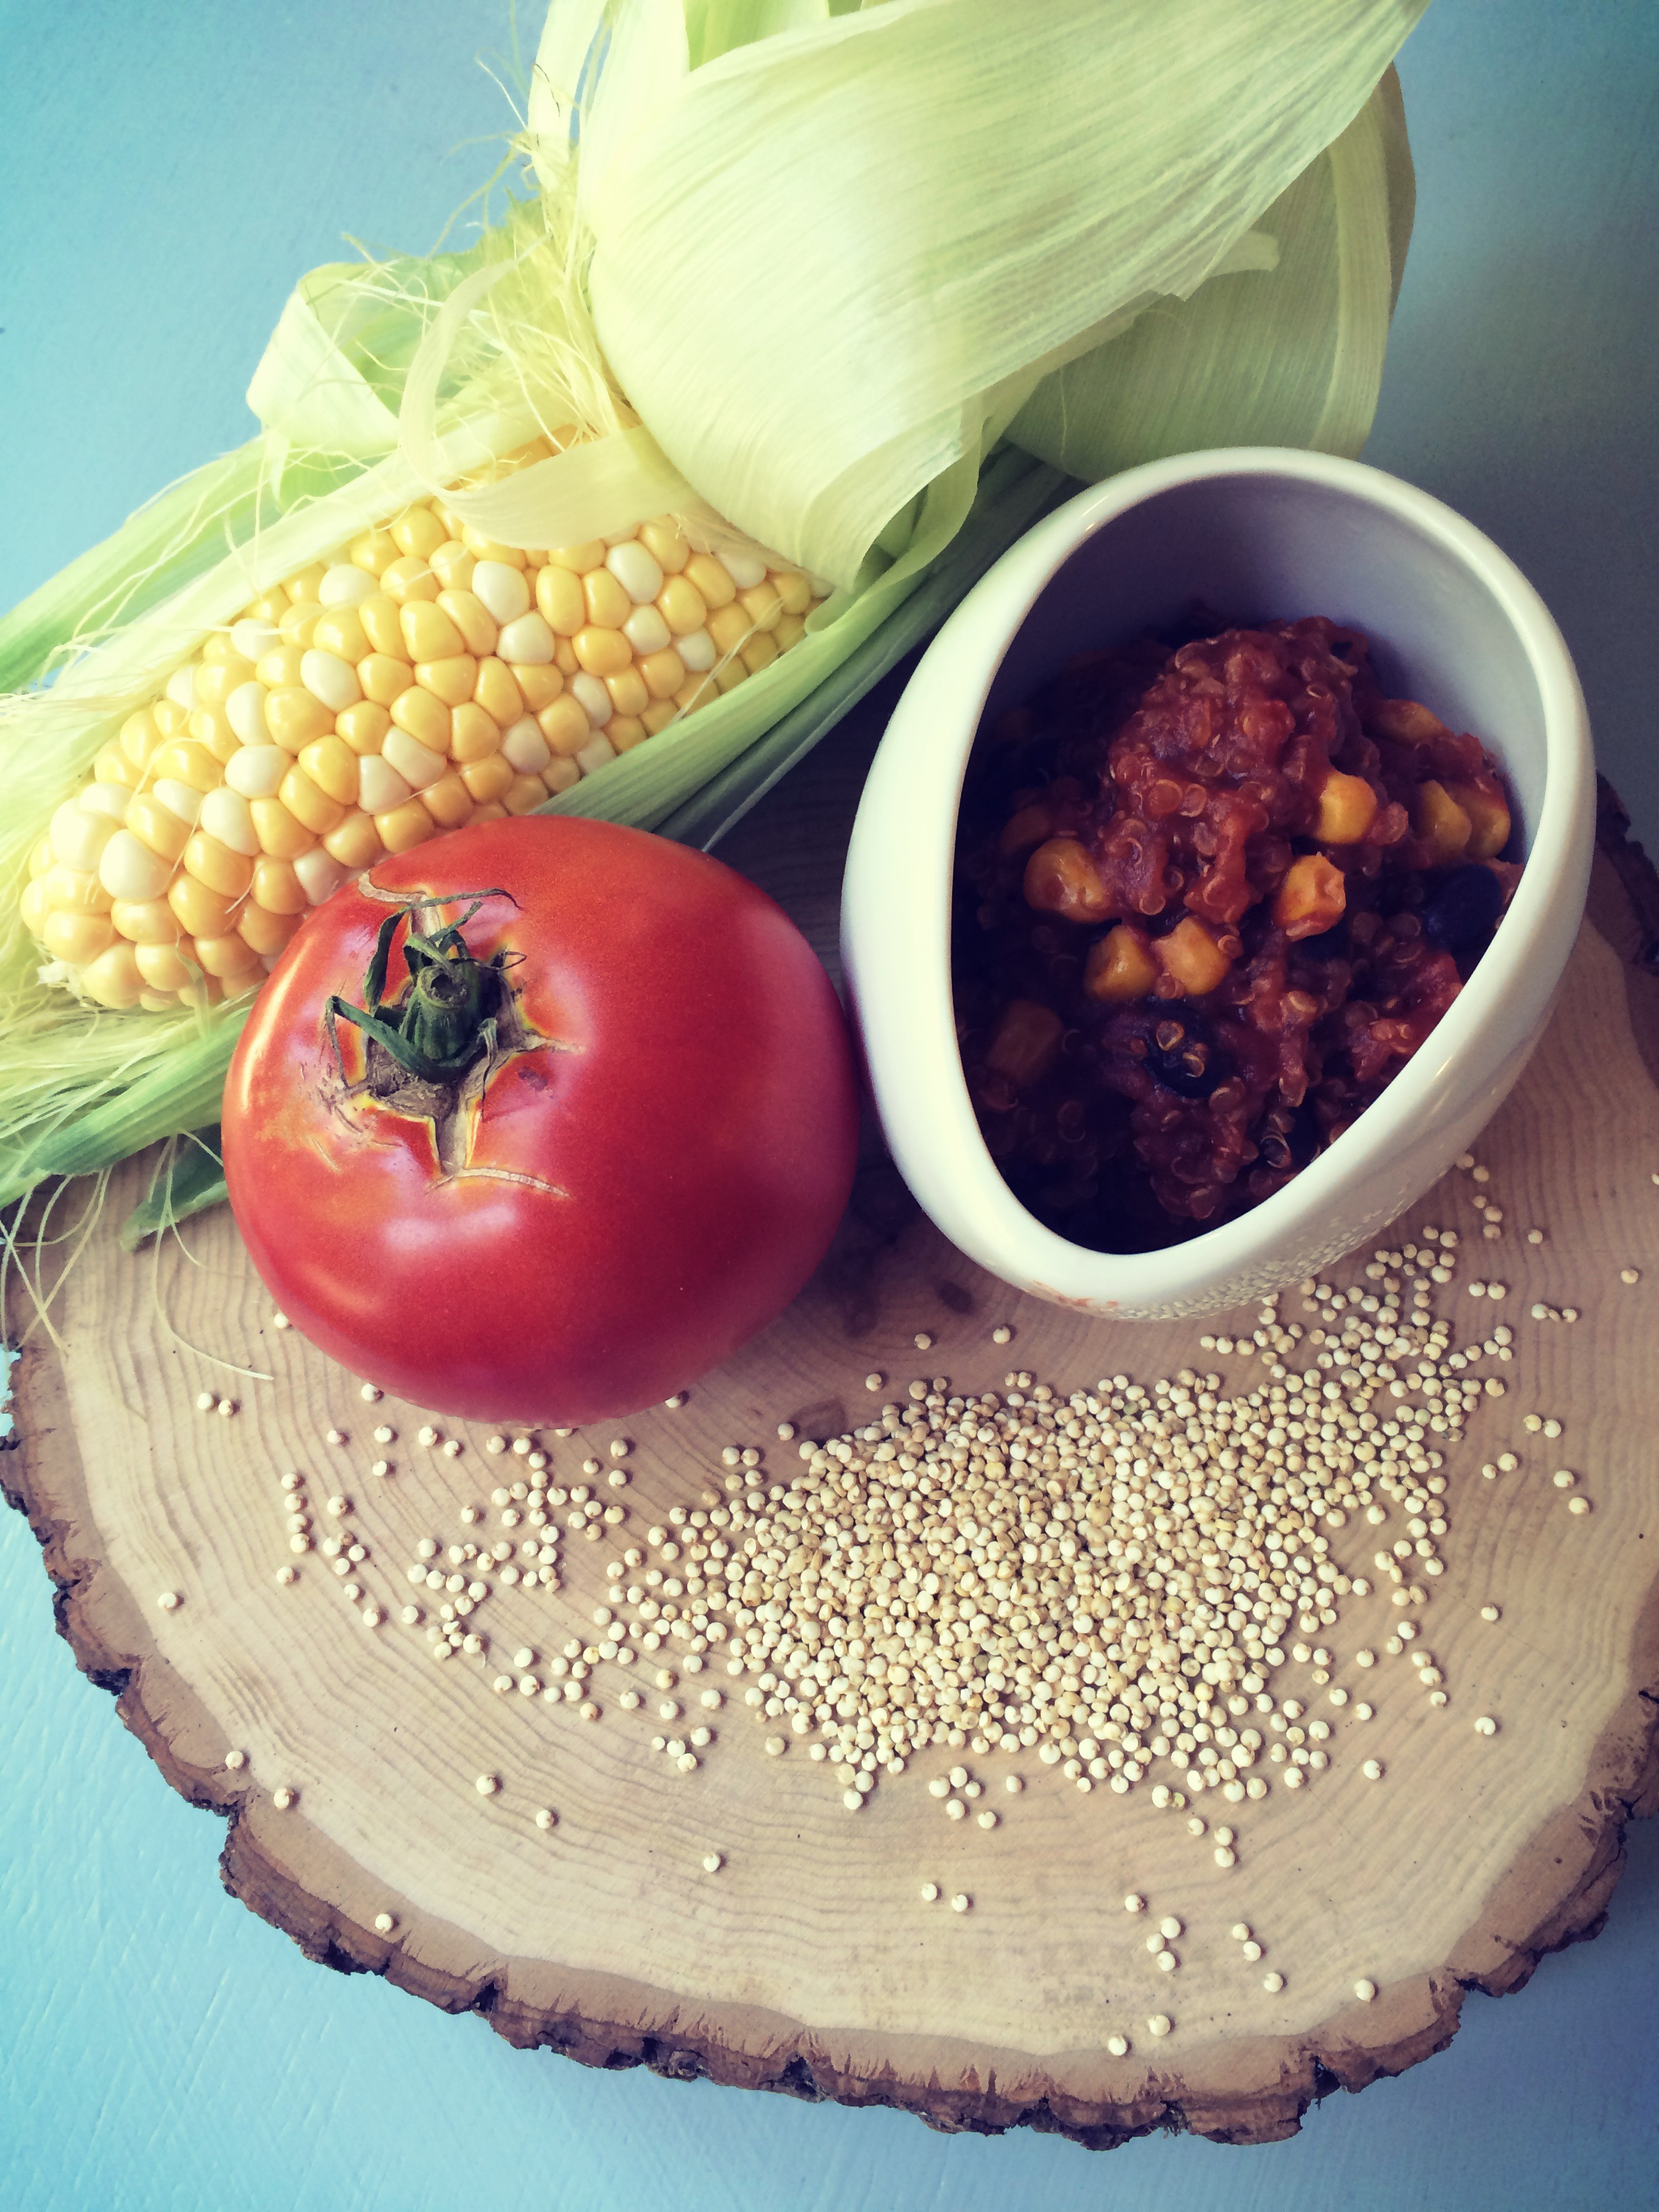
Also try our crockpot quinoa enchilada in your crockpot!


What’s your favorite crockpot meal?

Enjoy!

Paleo Chicken Pot Pie

Chicken Pot Pie

Paleo Chicken Pot PieThis morning I woke up and it was very overcast and cold outside. I made tea and sat at my kitchen table to study Chemisty – just like I do every weekend. This week I have been testing out a hydrolyzed beef protein powder from Designs for Health called PurePaleo meal – its a true paleo protein source. They offer whey protein, pea protein and their newest product is a hydrolyzed beef protein! I had to try it because most other most protein powders I can’t tolerate. I am lactose intolerant so whey protein is no good. I am sensitive to green peas, so I try to stay away from pea protein. I guess a soy isolate would work but beef protein was intriguing!

This product contains beef from animals raised in Sweden without hormones or antibiotics, and is free of any GMO grains, grasses, and/or ensilage. Besides the normal benefits of protein power this powder also has added collagen to help support muscles, cartilage and ligaments.

DISCLAIMER: I do not promote Paleo as a superior diet, however, I do believe that a low carbohydrate, clean diet can help kick start the weight loss process and help eliminate water weight up front to see quicker results and help motivate you to continue.

Anyway – I digress – I wanted to tell you about my Chicken Pot Pie. While trying this PurePaleo protein and I am trying to maintain a paleo diet but felt that the cold weather required some comfort food and thus paleo, gluten-free, dairy-free chicken pot pie was born.

About coconut oil
When shopping for coconut oil pay attention to the label. There is a definite difference between virgin coconut oil and refined coconut oil.
       Virgin Coconut Oil – made from fresh coconut meat which contributes a very pure coconut flavor. It has a lower smoke point and is best for baking when you want the coconut flavor.
      Refined Coconut Oil – made from dried coconut meat and is great for sauteing, stir-frying and baking. It has a higher smoke point and a neutral flavor.


Use the leftover chicken from our crockpot chicken recipe to make chicken pot pie later in the week!

Chicken Pot Pie
 
Author:
Ingredients
For the Crust:
  • ¾ C blanched almond flour
  • ¼ C tapioca flour or 2 tbsp corn starch
  • ½ tsp salt
  • ¼ tsp homemade baking powder (2:1 ratio cream of tartar to baking soda)
  • ¼ C refined coconut oil, cold butter or organic palm shortening
  • 2 tbsp cold water
For the Filling:
  • ½ lb leftover chicken, cut or tear into bite size pieces
  • 1 cup allowed vegetables, bite size
  • 2 tbsp refined coconut oil, butter
  • ⅓ C chopped onion
  • 2 tbsp tapioca flour or 1 tbsp corn starch
  • ¼ tsp salt
  • pinch black pepper
  • pinch paprika
  • ¾ C chicken broth (Swanson chicken stock is a great clean broth!)
  • ¼ C allowed milk (I used homemade coconut milk)
Instructions
For the Filling:
  1. Preheat the oven to 375 degrees.
  2. In a saucepan, cook onions in coconut oil/butter until tender.
  3. Stir in tapioca flour/corn starch, salt, pepper and paprika.
  4. Slowly stir in chicken broth and allowed milk. Simmer over medium-low heat until thickened like gravy.
  5. Remove from heat and set aside.
  6. Place chicken pieces and chosen vegetables in a bowl. Stir in gravy mixture.
  7. Pour mixture in 9x6 pan (8x8 or small casserole pan should also work).
  8. Take out crust if completely chilled - if not ready, throw it in the freezer for a couple minutes! Cold dough will make it easier to work with (less sticky).
  9. Pat handfuls of dough into palm-sized discs and piece together over filling. If you have extra dough, fill in the cracks.
  10. Place on a baking sheet in case it bubbles over and bake in oven for 35-40 minutes until crust is golden brown. I placed mine under a broiler for a couple minutes to get a nice golden brown color.
Notes
Easily double this recipe for a 9x13 pan.

If you have a deeper pan add additional chicken and vegetables. This will decrease calories per serving, increase protein per serving and fill you up more!


**Nutrition information is not provided due alterations that can be made to accommodate food sensitivities.


Alternatives:
This recipe has so many possibilities for customization!
Thickening Agent: as listed in the recipe, corn starch and tapioca flour can both be used to thicken sauces. If you are not looking for a paleo or gluten-free recipe wheat flour can also be used!
Baking Powder: Store bought baking powder often contains corn starch. If sensitive to corn it is best to make your own in a 2:1 ratio (listed above) and keep this to use in place of store bought. Note: cream of tartar is a byproduct of wine making so only use it if you are not sensitive to grape.
Protein: any other leftover protein would work here! Beef (I would use a beef broth to make filling gravy), pork, turkey.
Vegetables: green beans, corn, broccoli, potatoes, carrots, cauliflower, green peas. I used canned green beans and frozen corn because I had it on hand. This is your opportunity to make it your own! If using fresh vegetables, pre-cook them before adding to filling. Omit onions if you do not tolerate them.
Milk: any milk would work here!

There are so many possibilities that I’m sure I am missing some! Let me know if you try something different!


Products:


Let us know what you tried in your pot pie!

Enjoy!

Chicken Fried Rice

Chicken Fried Rice

Chicken Fried RiceThe idea of Chinese food always sounds good. I always think that I love Chinese food until we order it from the typical Chinese carryout restaurant and I realize that I’m not sure what I loved about it… its heavy, salty, MSG-filled, and covered in random mystery sauces. Oh and it makes my IBS flare up!

Soo…Epiphany!

Make your own! I love homemade Chinese food because it is light, filled with veggies, flavorful and totally customizable! Totally opposite of the restaurant version.

My favorite Chinese food is chicken fried rice. For this recipe I used the leftover Chinese restaurant white rice that no one eats because they always buy fried rice… If you are smart enough not to order Chinese food from a restaurant then you can make your own white rice or brown rice and use it in this recipe.

If you eat chicken and rice regularly and keep it around the house you can put this dinner together in a matter of minutes.

Chicken Fried Rice
 
Author:
Cuisine: Chinese
Serves: 4
Ingredients
  • 3C white (or brown) rice
  • 2 tsp sesame oil, divided
  • ¼ C soy sauce
  • ¼ C frozen peas
  • ¼ C frozen corn
  • 1 large carrot, small dice
  • 2 eggs
  • 1 chicken breast, cooked and diced
Instructions
  1. Heat 1 tsp sesame oil in a large pan. When hot, add frozen peas, corn and diced carrots and cook for a few minutes, until soft.
  2. Add cooked rice to the pan and mix with vegetables.
  3. Add diced chicken to the pan and heat ingredients together.
  4. Push the contents of the pan to one side. Pour remaining sesame oil (1 tsp) on empty side of the pan. Scramble eggs and add to pan. Mix eggs while cooking to scramble.
  5. Incorporate scrambled eggs in with the rice mixture until evenly combined.
  6. Pour soy sauce over contents of pan and mix again until evenly combined.
Notes
Nutrition information is not provided due alterations that can be made to accommodate food sensitivities.


Alternatives:
Chicken Fried Rice 
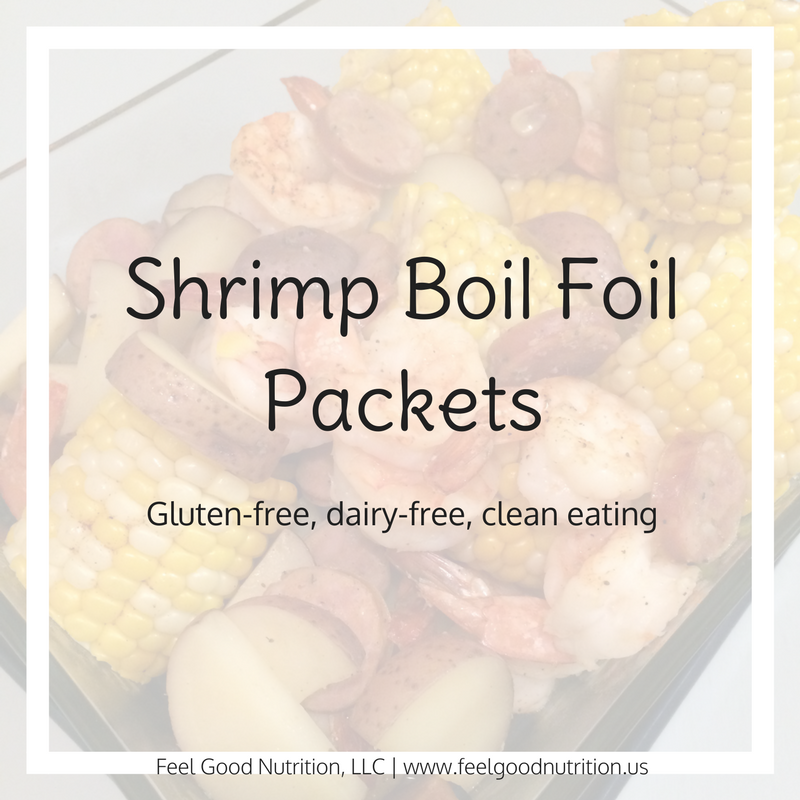
Protein – Use thin slices of beef or small shrimp in place of chicken

Vegetables – Any vegetables are fair game here! Broccoli bits, chopped onions, zucchini, etc. This is one way you can truly customize your meal!

Soy Sauce – this is an important part of the dish but there are alternatives that you can buy. There are many brands of soy sauce. Kikkoman in particular has gluten-free soy sauce and tamari that has limited ingredients. Bragg Liquid Aminos is an alternative to soy sauce and tamari that is not fermented (better alternative for those that are tyramine sensitive). Bragg Coconut Aminos is another alternative that is soy free and not fermented.


Products:


Do you make fried rice at home? What ingredients do you use?

Enjoy!


Crockpot Quinoa Enchilada

Crockpot Quinoa Enchilada

Crockpot Quinoa EnchiladaA couple of months ago I started part time consulting at a local migrant Head Start program. As their nutritionist, I plot all of the kids on a growth chart to identify where they fall in terms of weight for length (height). For the kids that plotted above the 85th percentile I was able to sit down one on one with the parents of the overweight/obese kids and discuss the importance of exercise and a healthy diet. Majority of these kids are getting multiple sweets per day and limited vegetables. Just a few weeks ago I was able to host a meeting with all of the parents to share my role at the school and answer any questions.

During the meeting we were raffling off a crockpot so I made a healthy twist on the classic mexican dish – enchiladas. The director of the school told me that the kids are given quinoa and really seem to like it. Quinoa cooks very similar to rice but if a complete protein – meaning that it can replace meat in a meal.

Try this recipe with: crusty dutch oven bread!

Crockpot Quinoa Enchilada
 
Author:
Cuisine: Mexican
Ingredients
Crockpot Enchilada
  • 1 cup quinoa, rinsed
  • 1 - 15oz can pinto beans, drained and rinsed
  • 1 - 15oz can corn, drained
  • 2 - 15oz cans diced tomatoes
  • 2 cups enchilada sauce
Enchilada Sauce
  • 3 cups broth
  • ¼ cup tomato paste
  • ¼ cup all purpose flour
  • 2 Tbsp allowed oil
  • 2 tsp cumin
  • ¼ tsp garlic powder
  • ¼ tsp onion powder
  • ¼ tsp paprika
  • Optional: start with ¼ tsp cayenne pepper for spice. Add more to taste.
Instructions
Enchilada Sauce
  1. In a small bowl, mix flour, cumin, garlic powder, onion powder and paprika.
  2. In medium saucepan, heat oil over medium heat.
  3. Add tomato paste and bowl of spice mix.
  4. Cook 1 minute, whisking continuously.
  5. Whisk in broth, increase heat, and bring to a light boil.
  6. Reduce to simmer. Cook about 8 minutes until slightly thickened, whisking occasionally.
  7. Add salt/pepper to taste.
Crockpot Enchilada
  1. Place pinto beans, corn, tomatoes and quinoa in a crockpot. Stir everything together and top with enchilada sauce.
  2. Cover and cook on high for 4-5 hours or on low for 8 hours.
Notes
Nutrition information is not provided due alterations that can be made to accommodate food sensitivities.

Quinoa Enchilada


Products:

Here are other great recipes to make in your crockpot: Crockpot Whole Chicken


Would love to know what you think and if you made any alterations!

Enjoy!

Shrimp Boil Foil Packets

Shrimp “Boil” Foil Packets

Shrimp Boil Foil PacketsThis morning we woke up to a dark stormy sky to get ready to run the Terrain Race – a 5k or 10k race filled with 20+ obstacles. And today they were especially muddy obstacles! Brandon loves to run these races and is used to getting dirty but I don’t believe I have ever been so dirty in my life. Today was filled with several firsts for me.

First time running a 5k.

First time getting in a pool of water with all of my clothes on.

First time sliding down a mountain of mud into even muddier water.

2016-08-20 14.14.32

Needless to say we were both pretty tired when we got home and the last thing we wanted to do was cook/clean up dinner but eating out was not an option either!

Tonight I decided to make Cajun shrimp foil packets with the corn and red potatoes I bought from a local farm stand and it was delicious. I normally make my own spice mixes but I have to admit that tonight I used a remade cajun spice mix for ease. We don’t make cajun food often so I didn’t have a mix made.

Most of the recipes that I have seen for foil packet dinners call for them to be cooked on a grill – I think they are meant for camping trips. In our case, a grill was not happening for two reasons. A) it was raining and B) we were lazy.

Cajun Seasoning Mix
1T smoked paprika
2t garlic powder
2t kosher salt
1t ground black pepper
1t onion powder
1/2t cayenne pepper
1 1/4t dried oregano

The sausage that I bought was Aidells All Natural Cajun Style Andouille Pork Sausage which I have found to be very clean ingredients.
Ingredients: pork, water, garlic, white pepper, red pepper, black pepper, sugar, paprika, celery powder and dehydrated onion.

Shrimp "Boil" Foil Packets
 
Author:
Ingredients
  • 1 lb large shrimp, peeled and deveined
  • 2 andouille sausage links, thinly sliced
  • 2 ears corn, each cut into 4 pieces
  • 4 medium red potatoes, cut into even bit size pieces
  • 2 T allowed oil
  • Cajun seasoning
Instructions
  1. Preheat oven to 425.
  2. Cut four sheets of foil, about 14-inches long. Divide shrimp, sausage, corn and potatoes in equal portions on two sheets of foil in a single layer.
  3. Pour 1 T of allowed oil over each of the packet contents and sprinkle cajun seasoning.
  4. Cover with other two sheets of foil and fold all sides to seal the packets closed.
  5. Place foil packets in oven and cook for 25-30 minutes.
  6. Serve immediately.
Notes
Nutrition information is not provided due alterations that can be made to accommodate food sensitivities.


Alternatives:
There are always substitutions that you can make in order to still enjoy the foods that you love! Here are a few substitutions that you can make in this recipe.

Oil – choose a mild oil that you can tolerate that doesn’t contribute a strong flavor.
Examples: olive oil, unflavored coconut oil, sunflower oil, rice bran oil

Seasonings – If you cannot tolerate seasonings in the cajun mix or do not have it salt and pepper always work!


Our cajun seasoning would be great on this One Dish Wonder chicken dinner!


Leave a comment below, we would love to know what you think!

Enjoy!

One Dish Wonder

One Dish Wonder: Dinner Made Easy

One Dish WonderWho doesn’t love an easy meal with minimal clean up?! I love this one dish wonder because it is infinitely modifiable for all food sensitivities. Because it is just the two of us, I prefer to make a large pan, usually 9×13, so that I have plenty for lunch the next day. I like to cook in bulk for a lot of my recipes because it is not always easy/convenient to make your meals everyday.

This recipe is great because it can be changed in so many ways. Here are some examples of what you could use to change it up.
Starchy vegetable: white potato, sweet potato, winter squash
Non-starchy Vegetable: green beans, broccoli, cauliflower, carrots, onion, yellow squash, zucchini, green peppers
Protein: chicken, pork, beef, turkey, lamb
Seasoning: salt, black pepper, garlic powder, onion powder, oregano, basil, parsley, cayenne pepper, cumin, red pepper flakes, paprika, leeks

Pick any combination and you can have unlimited meals!


Here are some ideas for spice mixes that you can use to personalize your one dish wonder.

Mexican Blend                                                 Ranch Seasoning
1T cumin                                                                  1tsp garlic powder
1-1/2t paprika                                                         2T parsley flakes
1t oregano                                                                1t onion flakes
2t garlic powder                                                     1t dill weed
1/2t onion powder                                                 1/2t black pepper
1-1/2t salt                                                                 1/2t basil
1-1/2t black pepper

Italian Blend                                                   Onion-Paprika Blend
1/2t garlic salt                                                       2t paprika
1-1/2t onion powder                                            1t onion powder
1-1/2t cane sugar/beet sugar                             1/2t salt
1T dried oregano                                                  1/4t cayenne pepper (optional)
1/2t black pepper
1/2t dried basil
1-1/2t dried parsley
1/8t celery salt
1/2t salt


One Dish Wonder: Dinner Made Easy
 
Easy dish that you can personalize to fit your family!
Author:
Recipe type: Dinner
Serves: 2 meals
Ingredients
  • 2 chicken breasts, cubed
  • 1 large sweet potato, cubed
  • 2C green beans
  • 1T oil
  • salt and pepper
Instructions
  1. Preheat oven to 350.
  2. Oil your baking pan.
  3. Place cubed chicken in the center of the baking pan and sweet potato and green beans on either side.
  4. Drizzle contents of pan with oil of your choice.
  5. Season with salt and pepper.
  6. Cover with foil and bake for 45 minutes.
Notes
Nutrition information is not provided due alterations that can be made to accommodate food sensitivities.


For family meals, you can use a 9×13 pan. Doubling the recipe should fill the pan but the recipe is flexible to your needs so make what you need for your family and season accordingly!

I like to make this recipe and divide it up for lunches to take to work so that I don’t make last minute bad decisions! When you’re following a specific diet, preparation is the key. Buying divided tupperware is a great way to do this. You can keep them in the refrigerator for meals in the coming days or put them in the freezer to have meals when you’re in a crunch. Buying glass tupperware and BPA-free plastic is important! I provided some great brands below that we like. Microwaving food in plastic can be detrimental to your health.


Our crusty dutch oven bread would be a great side to this meal!


Products:


What veggies did you use?

Enjoy!

Thick Crust Pizza

Homemade Thick Pizza Crust

Thick Crust PizzaWho doesn’t love pizza? Brandon and I like to keep frozen pizza crusts in the freezer for those days when we just don’t feel like cooking! When I was going through my elimination diet one of the foods I had to trial was wheat. Through this I discovered that I can tolerate wheat which was such a relief!

There is such a stigma against wheat/gluten these days and a lack of understanding of why it is necessary for some people to cut out. What most people don’t know is that by cutting out gluten for a long period of time when it is not necessary your body starts to have a difficult time breaking it down when you add it back in. If you can tolerate gluten why wouldn’t you want to take advantage of that?

This recipe makes 2 thick crust 12-inch pizzas. Of course your could always divide it into 3 thin crust or even 4 individual pizzas if you and your family like different toppings.

The easiest way to make pizza dough is of course in a stand mixer with a hook attachment but you could always make it the old fashioned way (with your hands).

Homemade Thick Crust Pizza
 
Author:
Serves: 2 pizzas
Ingredients
  • 4C all-purpose flour
  • 1T + 1t active dry yeast
  • 1T + 1t sugar
  • 2t salt
  • 1T + 1t oil
  • 12oz warm water
  • 1t oil
Instructions
To make in stand mixer:
  1. Place flour in mixer bowl and create a well.
  2. Fill well with yeast, sugar, salt, 1T + 1t oil, and water.
  3. Attach dough hook to mixer and turn mixer on low until ingredients are combined (about 3 minutes)
  4. Turn mixer on medium speed and knead for 5-10 minutes until ball forms, push flour down as needed.
To make by hand:
  1. Place flour into large bowl and create a well.
  2. Fill well with yeast, sugar, salt, 1T + 1t oil, and water.
  3. Stir with spoon until combined (you may need to use your hands).
  4. Turn out onto floured surface and knead for 5-10 minutes by hand until ball forms.
Once you have the dough ball:
  1. Coat dough ball with 1t oil and cover with clean, dry towel.
  2. Place in warm place away from drafts until dough doubles in size, about 1 hour.
  3. Turn dough out on floured surface and punch down to remove excess air.
  4. Divide dough into 2 pieces.
  5. Roll out each piece into 12in pizza.
To make right away:
  1. Top with pizza sauce and your favorite toppings!
  2. Bake at 400 for about 12-15 minutes or until edges are brown and bottom is fully cooked.
To save for later:
  1. Pre-bake crust on pizza pan for about 5 minutes at 500 degrees until slightly brown and bottom is fully cooked.
Notes
Nutrition information is not provided due alterations that can be made to accommodate food sensitivities.


Alternatives:
There are always substitutions that you can make in order to still enjoy the foods that you love! Here are a few substitutions that you can make in this recipe.

Sugar – I didn’t specify the type of sugar because you can use cane sugar or beet sugar.
Oil – choose a mild oil that you can tolerate that doesn’t contribute a strong flavor to the pizza crust.
Examples: olive oil, refined coconut oil, sunflower oil, rice bran oil


Thick Crust Pizza 1


Give it a shot and make your own pizza crust! Not only is it better than ordering out but it has minimal ingredients and no preservatives 🙂


Products we use:

Here’s another great recipes to make with your stand mixer and smart oven: Oatmeal Breakfast Cookies


We make pretty traditional pizza. What are your favorite toppings?

Enjoy!